Have you been to Michaels and seen those
$1 wooden frames?
Well I decided to buy some and get to work.
First I stained the outer and inner edges with walnut stain.
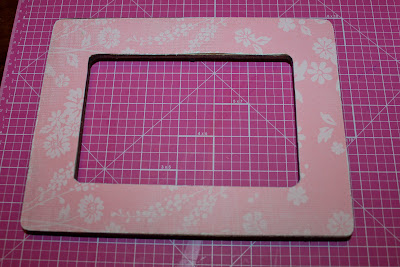
Then I traced each frame on paper. Cut them out with scissors.
And the inside square with a blade cutter thingy.
I used modge podge to adhere it to the frame, then another layer on
top to protect the paper.-it dries clear
Next I sanded the outside and inside edges. And sponged
chocolate brown ink.
And then just decorate!
That little black square is a mini chalk board.
I have to get some chalk and write a word on there.
I did 8 total.
To hang them we painted some trim white and nailed it
to the wall just for an added effect.
Then I stapled lace to the back of the frames to hang.
I plan on adding pictures from the TX trip.
yes I know I desperately need to paint the red toy chest.
My kids make it worse by peeling paint whenever they are in time-out.
Grrrrr
UPDATE: I painted it
I sanded and peeled layers of paint off this toy chest.
Then I painted it. Only after a few coats did I
realize I picked the front door red paint.
It better last.
I waxed it for added protection.
On another note, my madre
is here and we are going on a road trip
tomorrow to Ohio!


No comments:
Post a Comment
Tell me you think!